
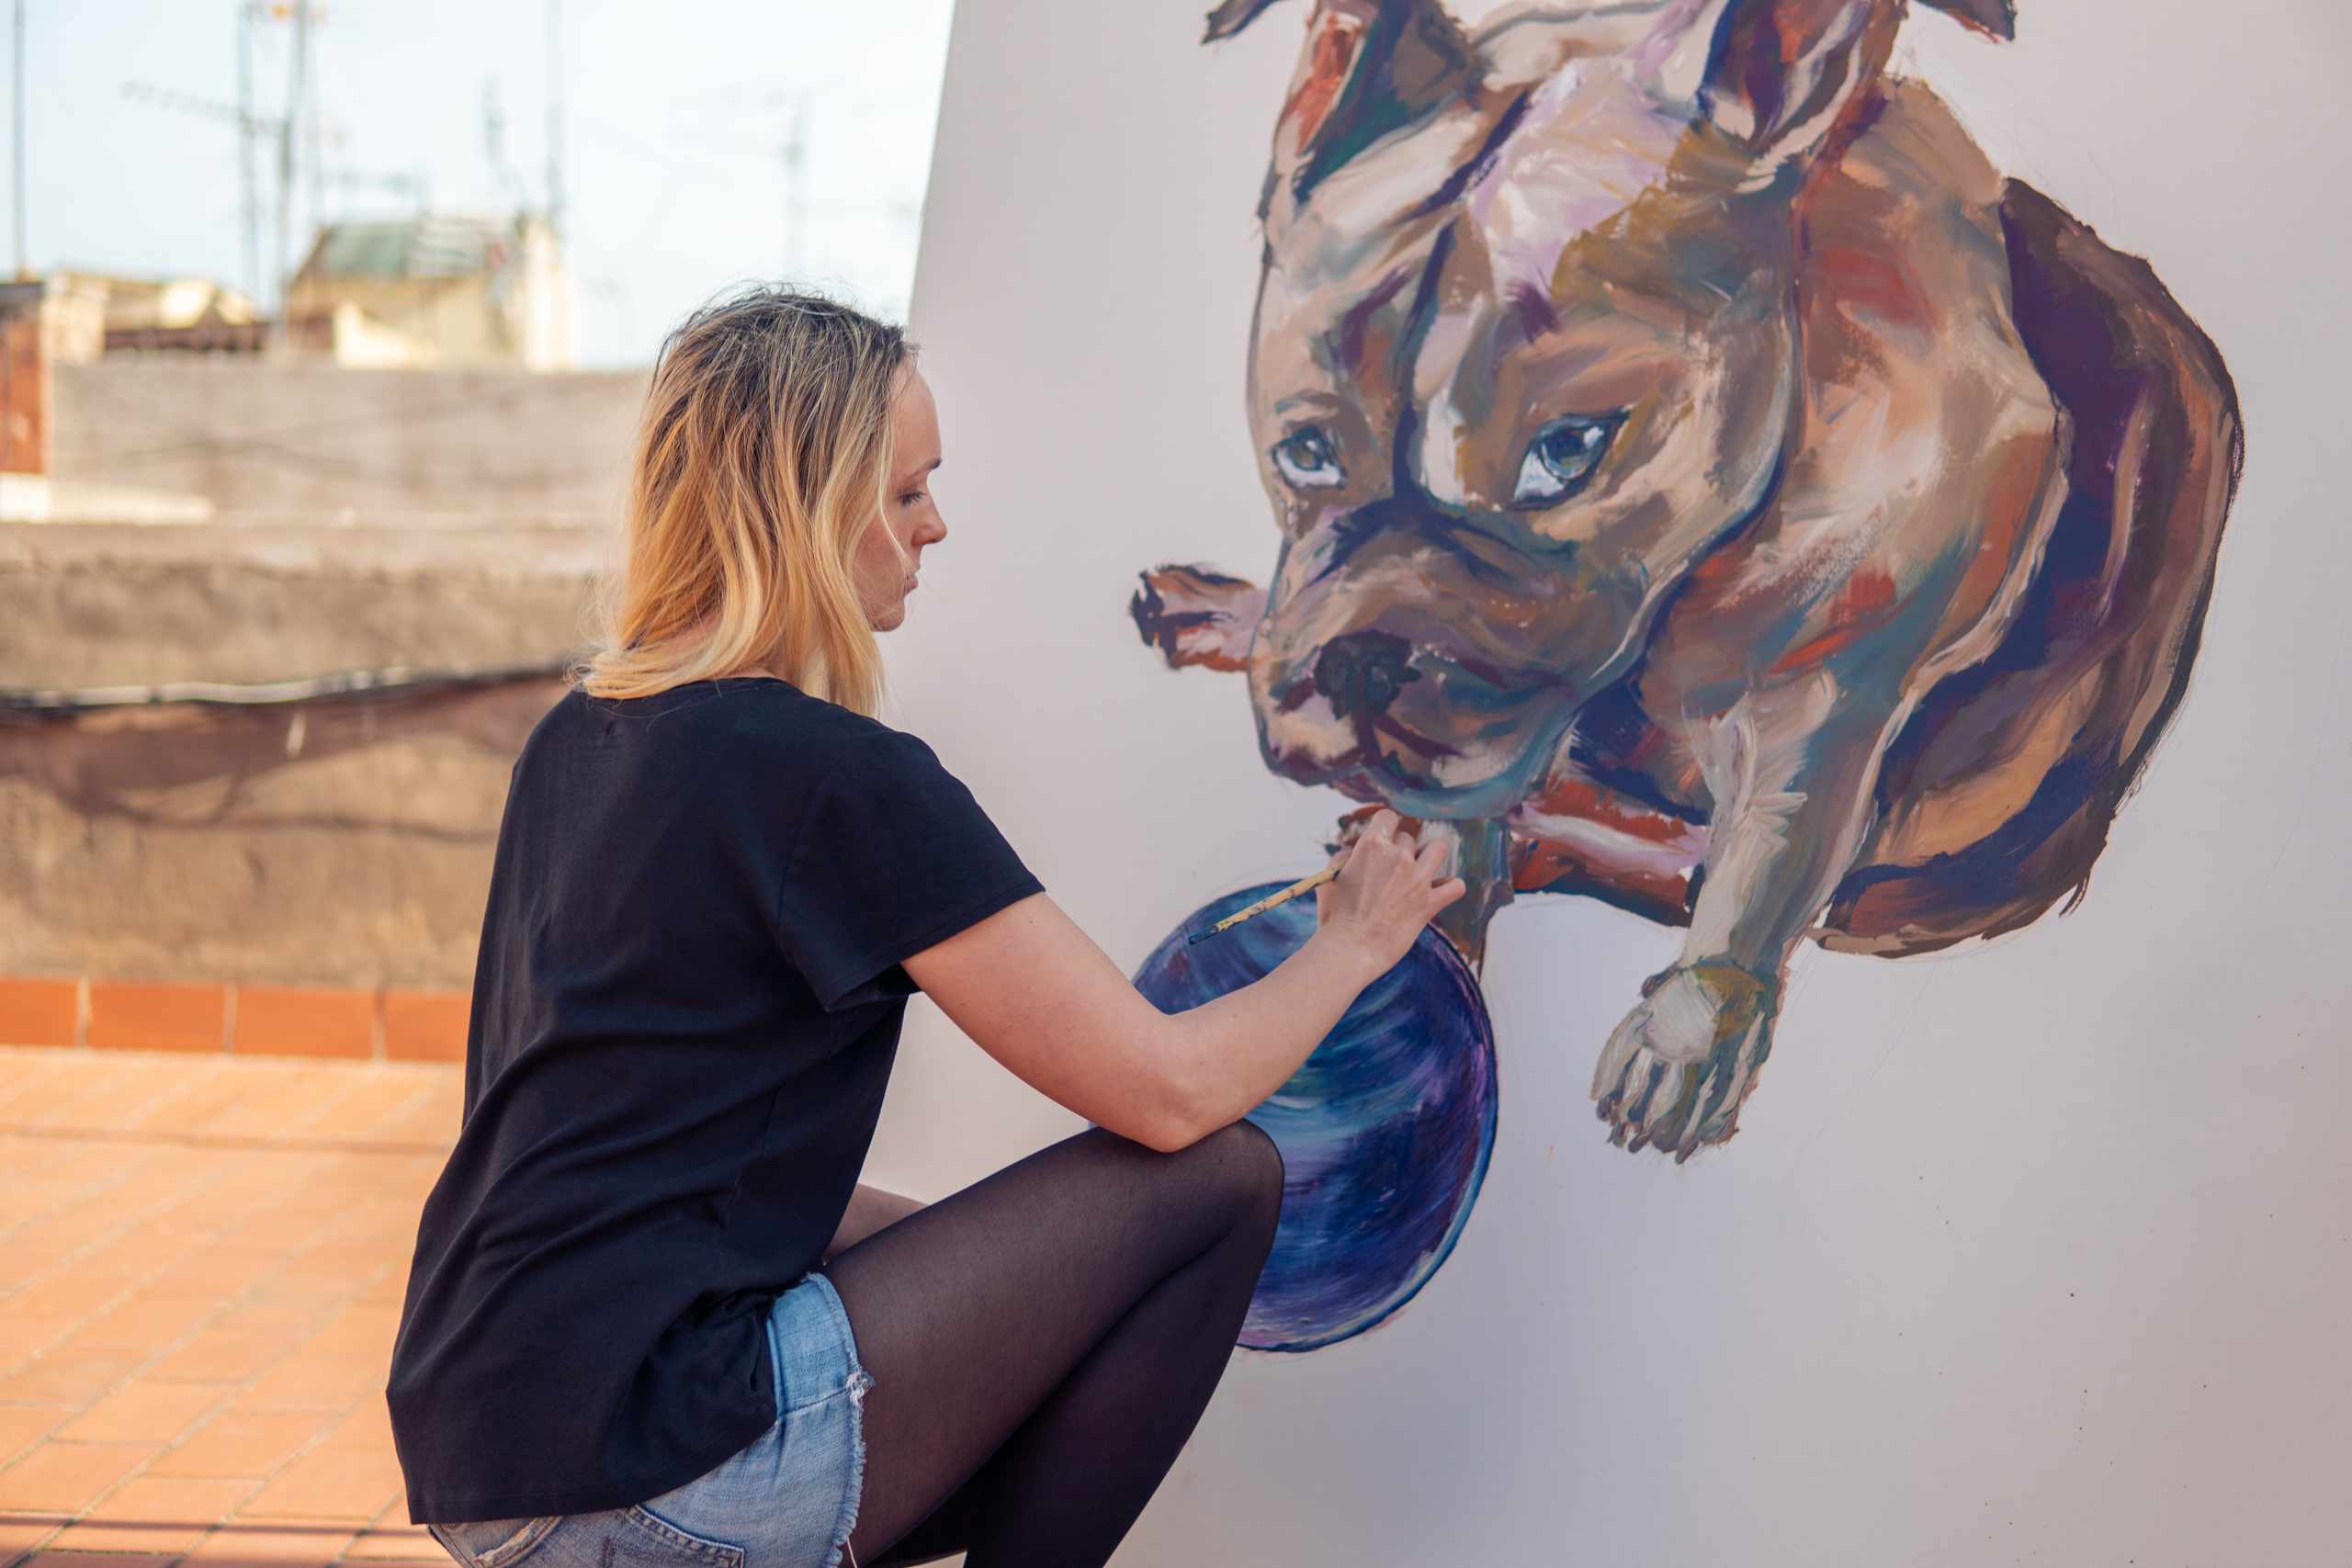
Your first wall mural should typically be smaller than you’re thinking. It is tempting to envision an expansive panorama, complex typography, intricate blooming bouquets, or an intricate composition on an entire accent wall. The catch is that the tiniest detail in a drawing becomes amplified once it occupies your wall. A subtle curve in a charcoal drawing could become a challenging brush stroke adjacent to a crown molding, a door casing, or a painted wall texture. Selecting a simple design is not a way to make your mural uninspiring, but instead a method to give yourself space to refine the design layout, master the paint application, and learn edge control, without your entire day being consumed by battling your design.
Think about the wall space first. Observe the space and size, lighting, the furniture you will need to work around, and exactly how much surface you are actually going to get to paint with. A mural behind bookshelves, furniture, or a desk doesn’t require you to fill every area with visual data. An arch, a small group of big leaves, a subtle geometric pattern, or an abstract form might suit the room more than a busy mural. Take a tape measure and record a rough approximation of the wall space, sketching an approximation of how long and wide it could be on a piece of paper. That step might help you decide if the mural you are considering is the right size to fill it up.
The most straightforward first designs will feature a few basic bold shapes, a minimum color palette, and clean, defined lines. Oversized leaves, mountains in silhouette, sun shapes, waves, simple floral, stripes, or free flowing shapes are easier to fill in than small scale intricate motifs. If you would like typography, use a small single word or a very short phrase with legible, bold letters rather than delicate cursive. If you want a botanical design, try fewer stems or leaves and make them much bigger. If you prefer a geometric design, allow for larger painted sections where painter’s tape and a angled paint brush will have enough space to maneuver.
Consider reducing the scale of your design first. Create a small mock up on paper using no more than three or four of the primary shapes. Step back to view it from a distance in the same space. If it is still readable at that distance, then it is more likely that it will read well once expanded to a wall. If the shapes are unclear at that distance, it will be impossible to make them recognizable when they are enlarged. You can also use a small scale drawing to determine whether the proportions look correct, whether they are top heavy, bottom heavy, centered or unbalanced.
Color plays a big part of your mural, even if it is fairly simple. A reduced color scheme is a much safer bet for your first project than trying to work with a full spectrum of shades in one sitting. Select one major color, maybe a secondary color to complement it, and if necessary a highlight color. Put down a small swatch in the same area that you are going to paint to see how they will look after they dry, since acrylic and latex paint can behave differently in a dried state. A paint color that is subtle in the paint bucket might come across much more intensely on your wall, so consider applying a second coat if it looks too light on your sample test.
Ask yourself which part of your mural might present a problem for a beginner. A design full of sharp angles will challenge you in terms of how you lay down painter’s tape and prevent paint from seeping underneath it. A design with long sweeping curves will test your steady hand and brush control. A design that involves using a light color over a darker wall could require a lot of primer and drying time to ensure it covers well. This doesn’t mean a design with those characteristics isn’t worth pursuing, just that you should pick a design that will have no more than one or two of these challenges. You might even attempt that one challenge on your sample board: try just a single curve, a single taped corner, or one small shape.
A good first design mural should have natural points to pause. You will be able to prep your wall, lightly mark your design, fill in the largest areas, step away to let it dry, then come back to do your detailing, touch up, and finish the edges. You might find a design which requires so many small adjustments that you won’t have clear opportunities to stop working. Pick a design that looks pleasing to the eye from a distance, even if not every area has been detailed yet. If your design is legible, paintable, and calm enough to make another copy of on your sample board, you may have a good choice for a mural to start with, rather than one of the complicated designs you considered initially.